install.packages("pak")GitHub Training
An overview of GitHub and Codelists
2025-10-24
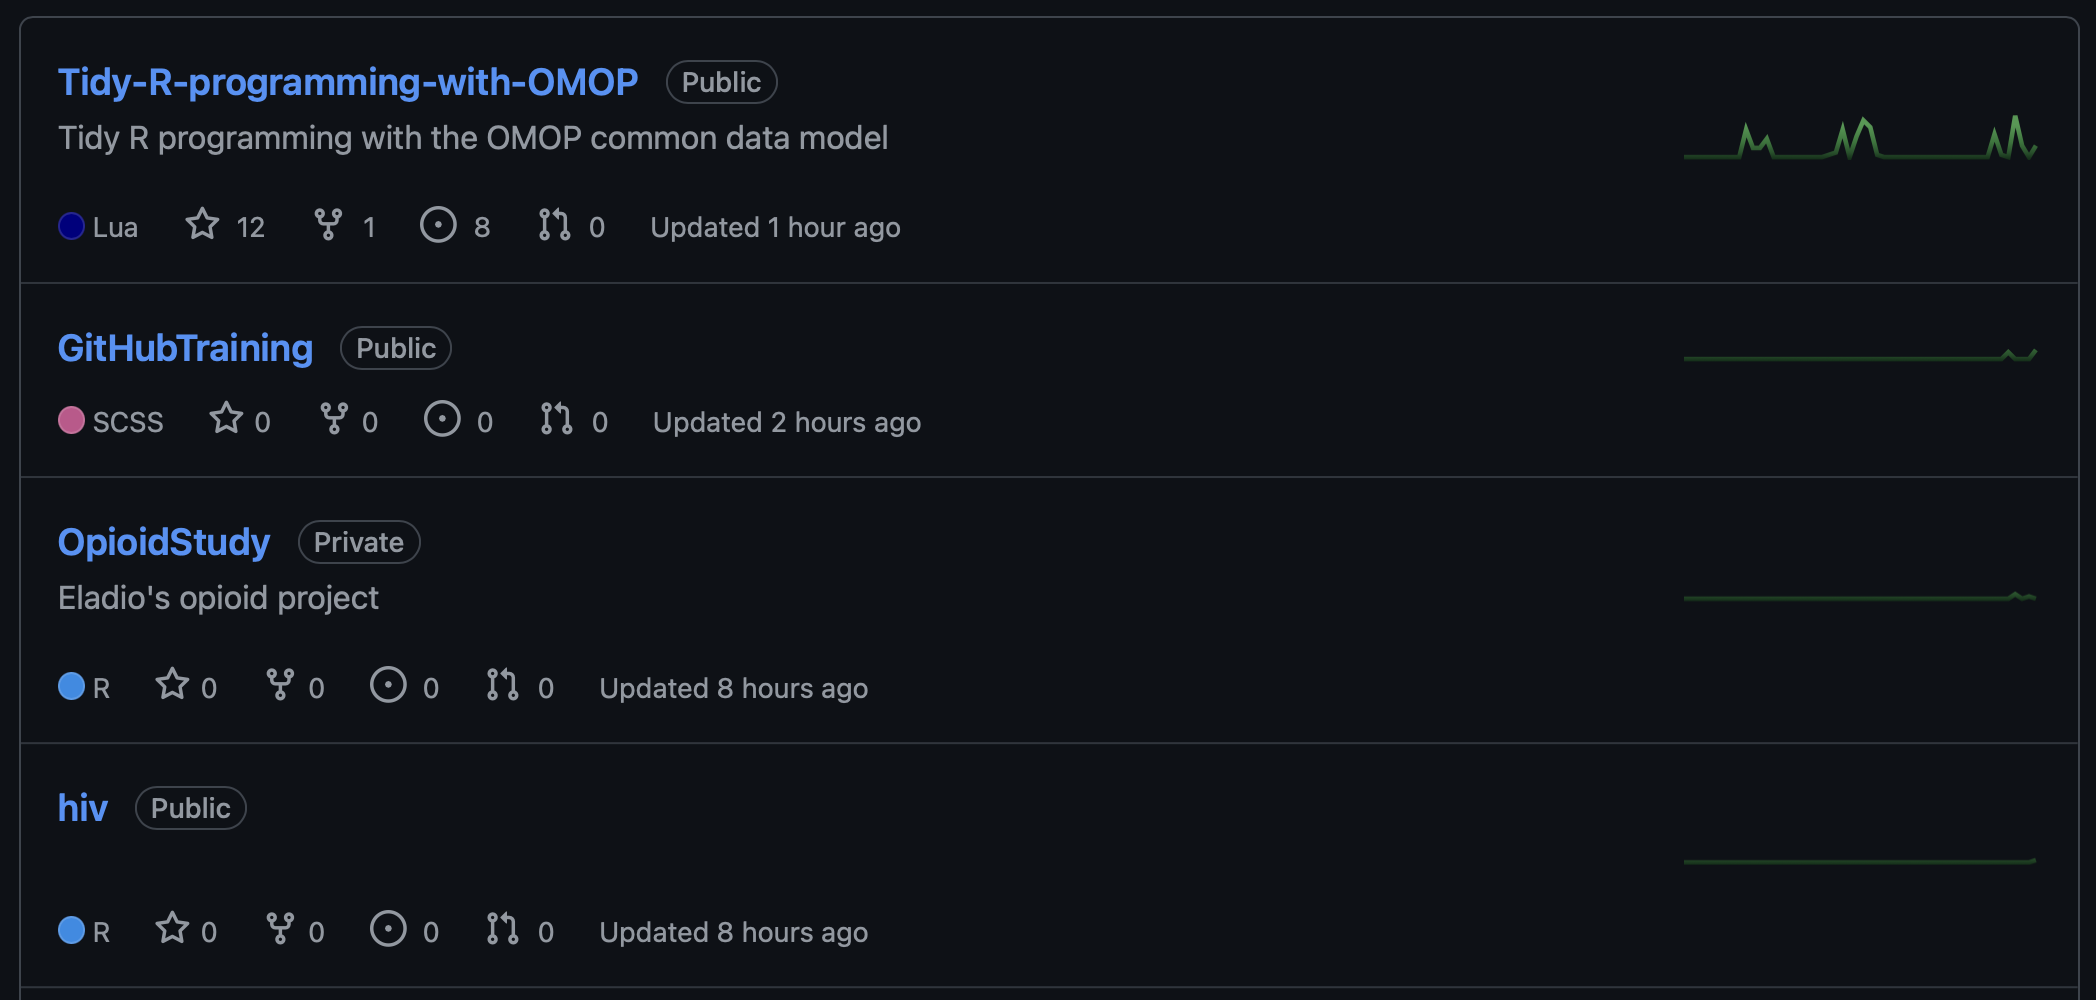
Repository (Repo)
A repository is essentially a project’s folder. It contains all the project files, including code, documentation, images, and, most importantly, the entire history of every change made to those files.
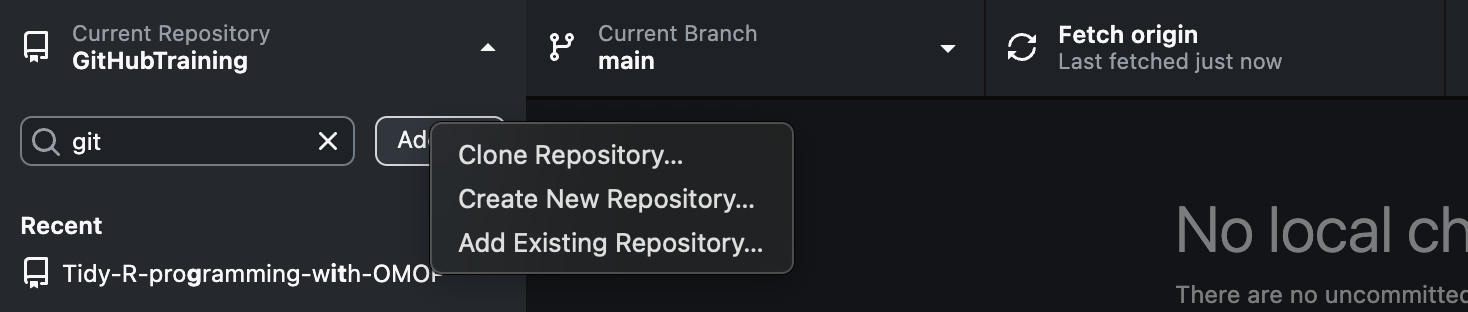
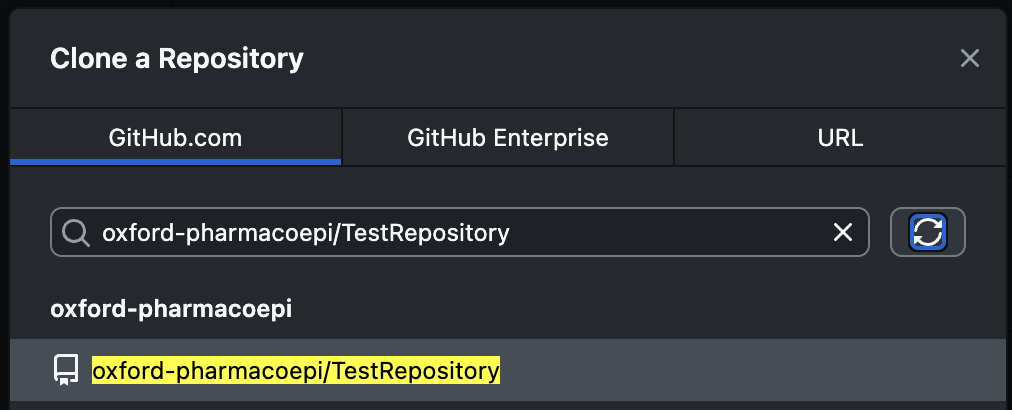
Clone
Get a copy of the repository onto your local machine or GitHub account.
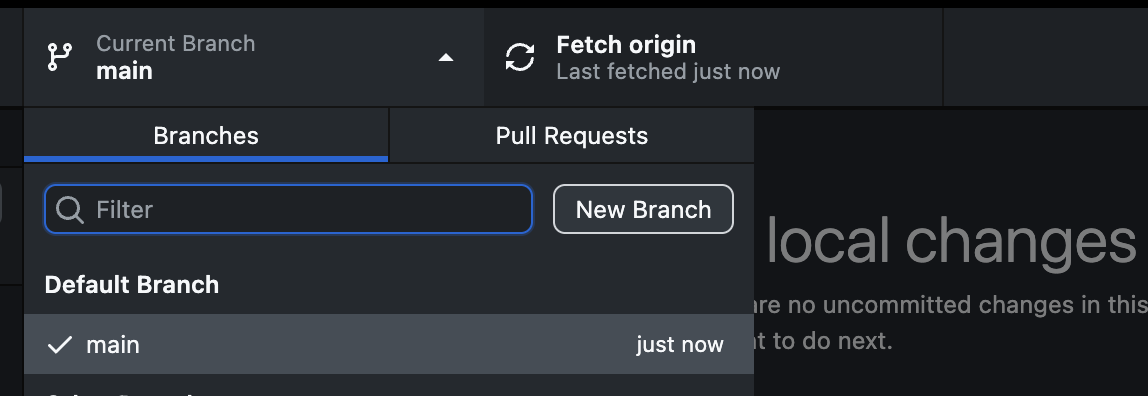
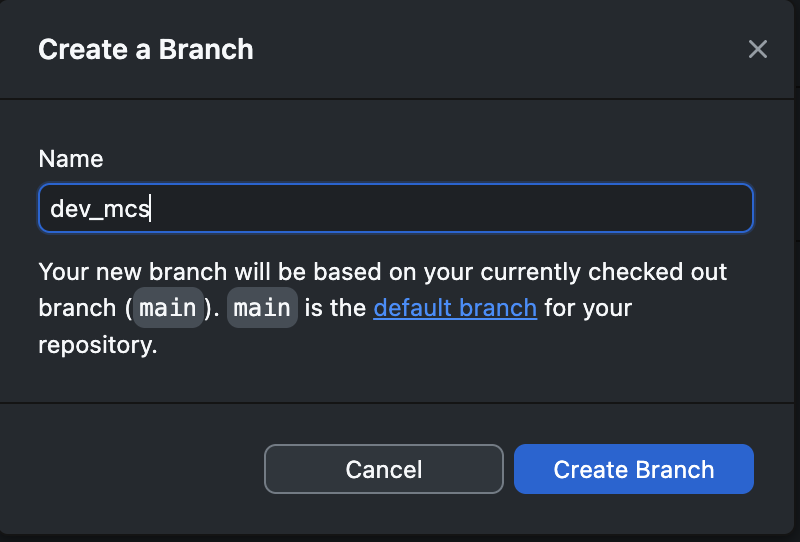
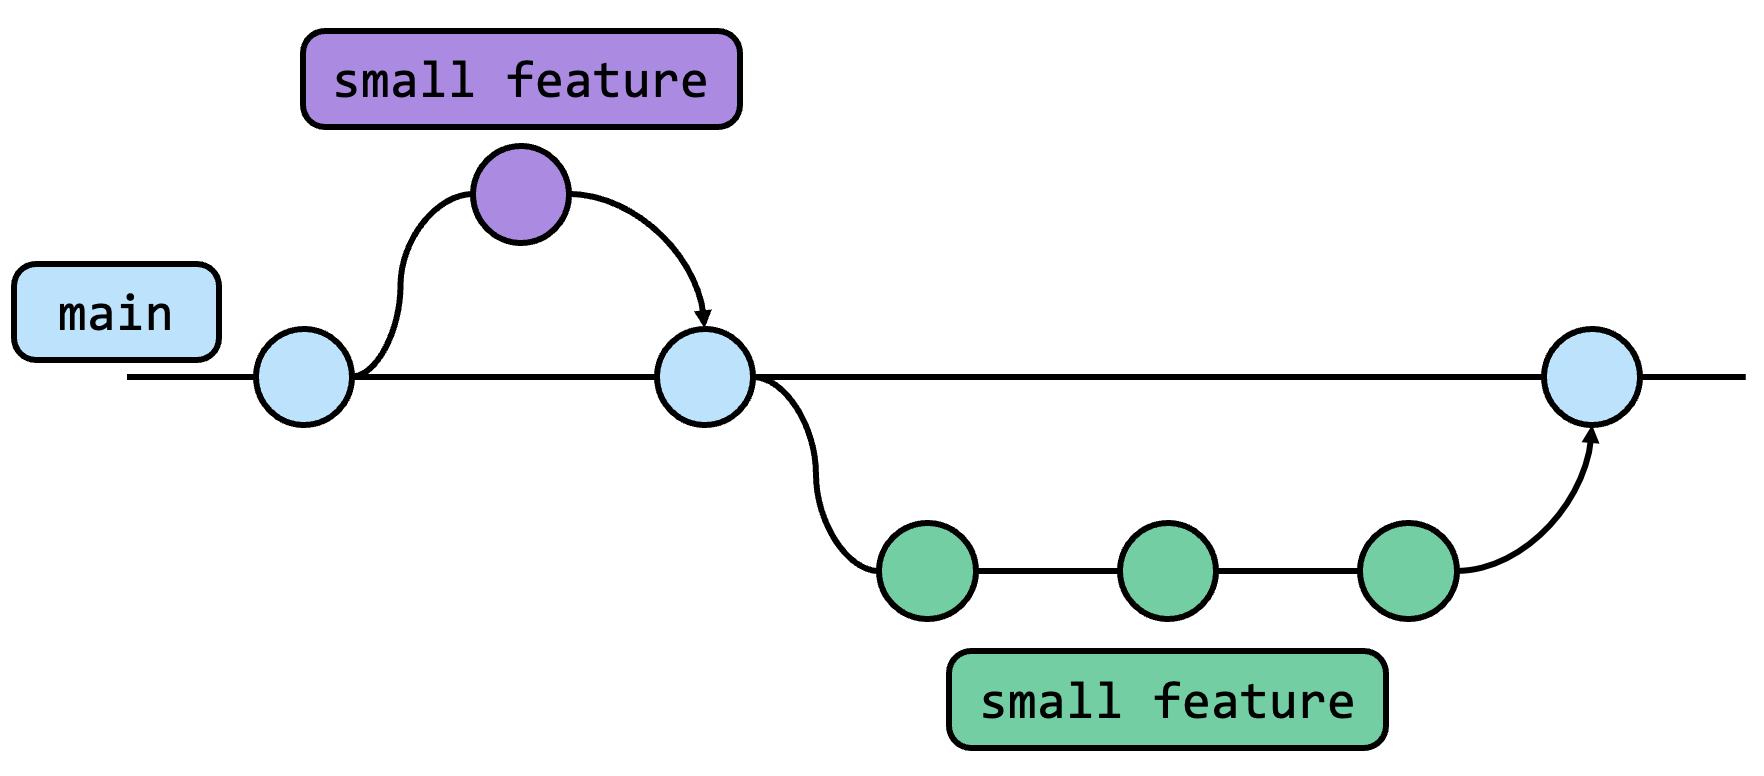
Branch
A branch is an independent line of development.
The default and main line of development is typically called the main branch.
Branches allow developers to work on new features or bug fixes in isolation without affecting the stable, main code.

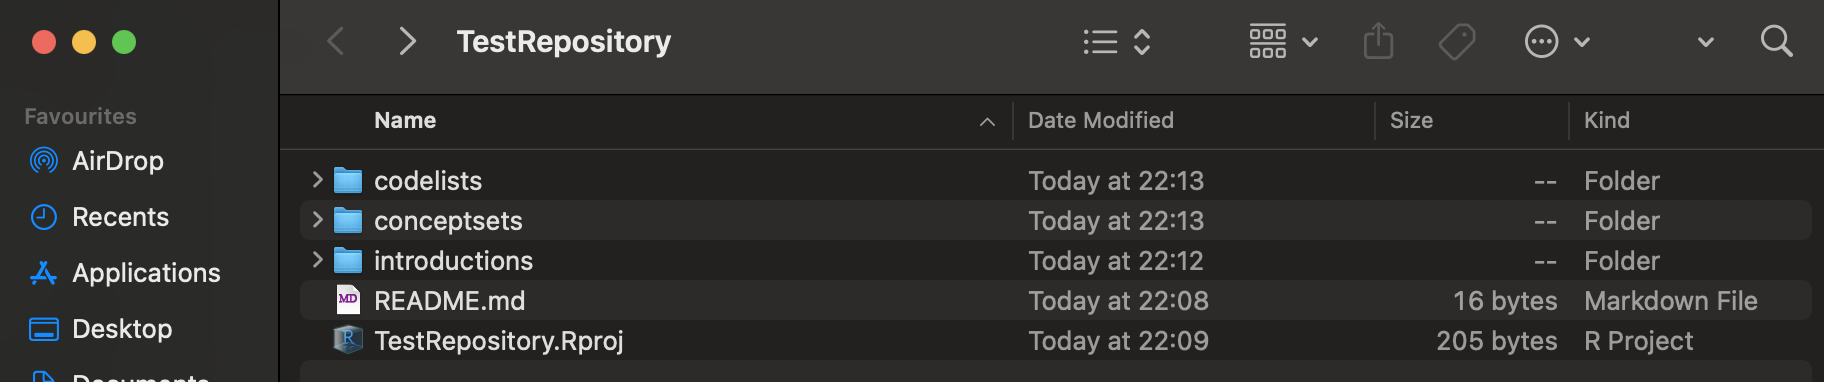
Open the project locally
Push & Pull
These are the actions used to synchronise your local Git repository with the remote repository on GitHub:
Push: To send your local commits from your computer to the remote repository on GitHub.
Pull: To fetch and download changes (commits) from the remote repository on GitHub to your local computer. (We will see it later)

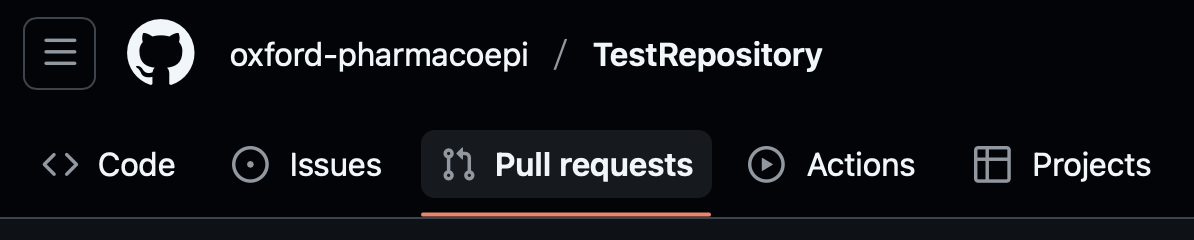
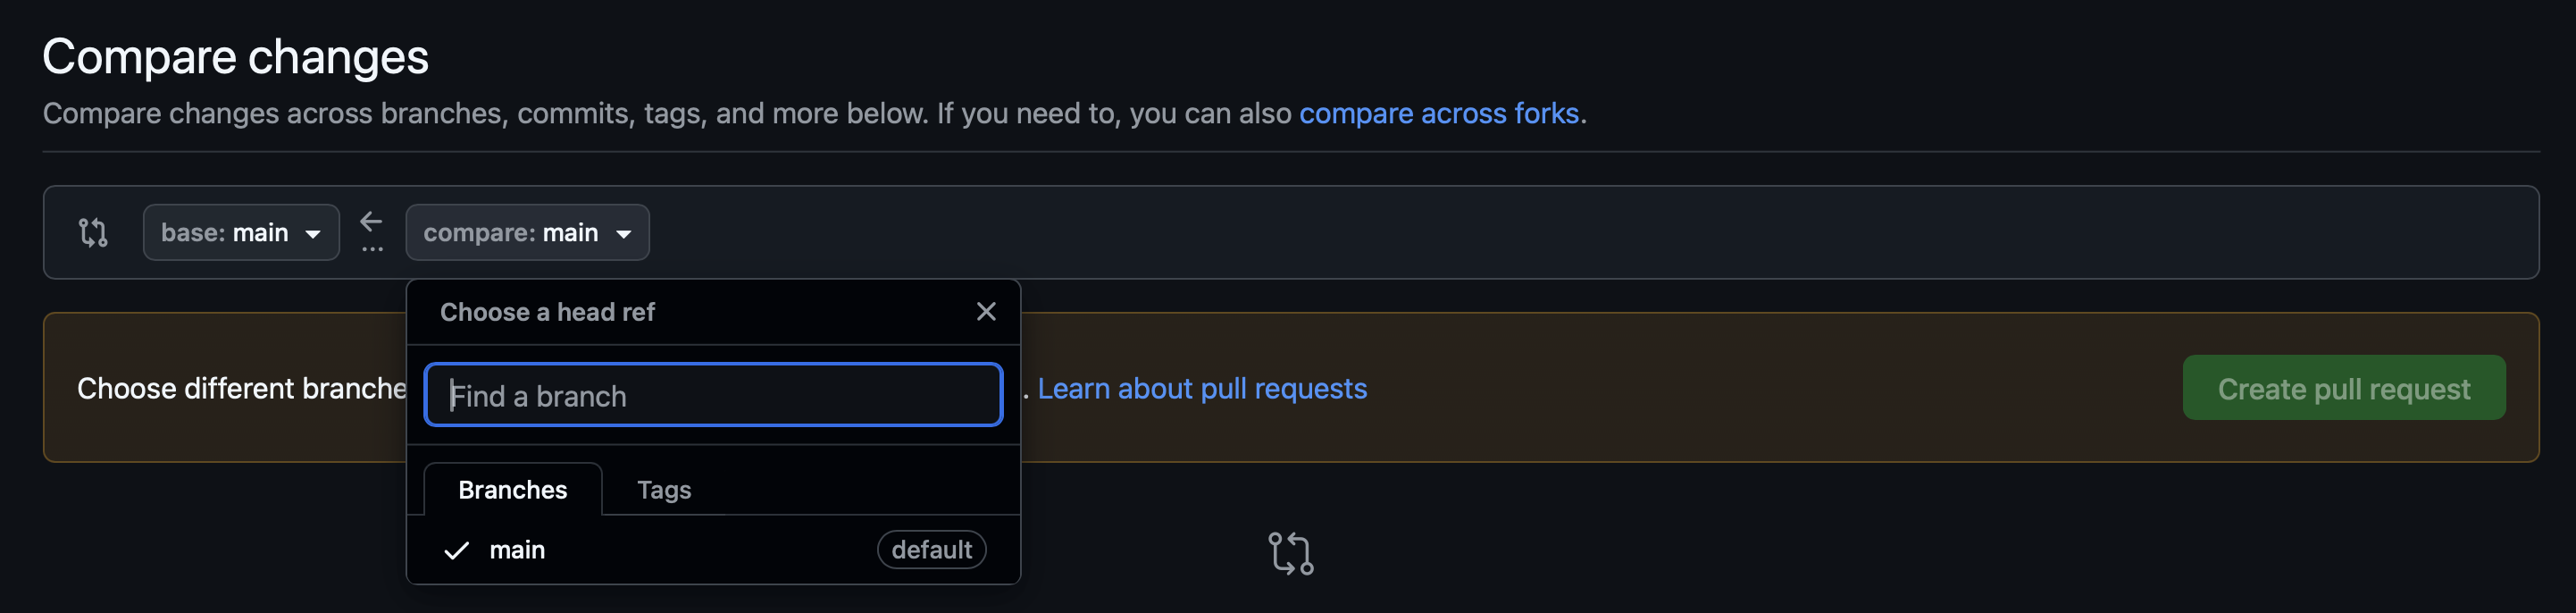
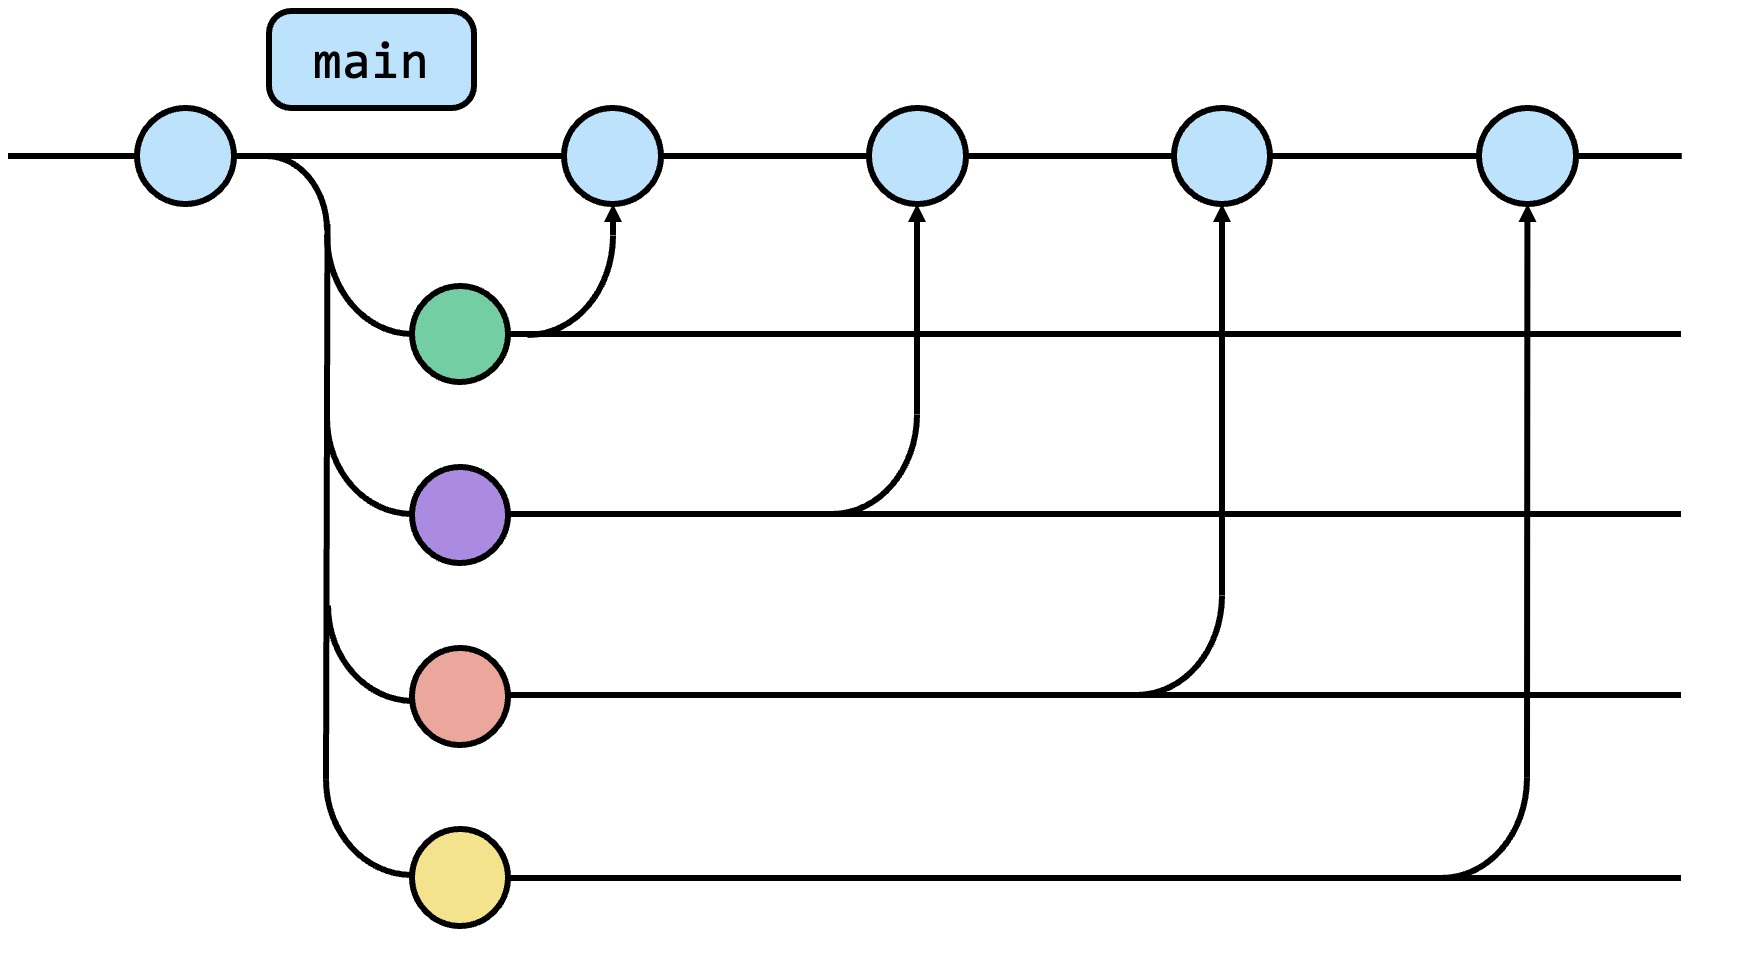
Our first PR
Workflow
Need to update
Update from main
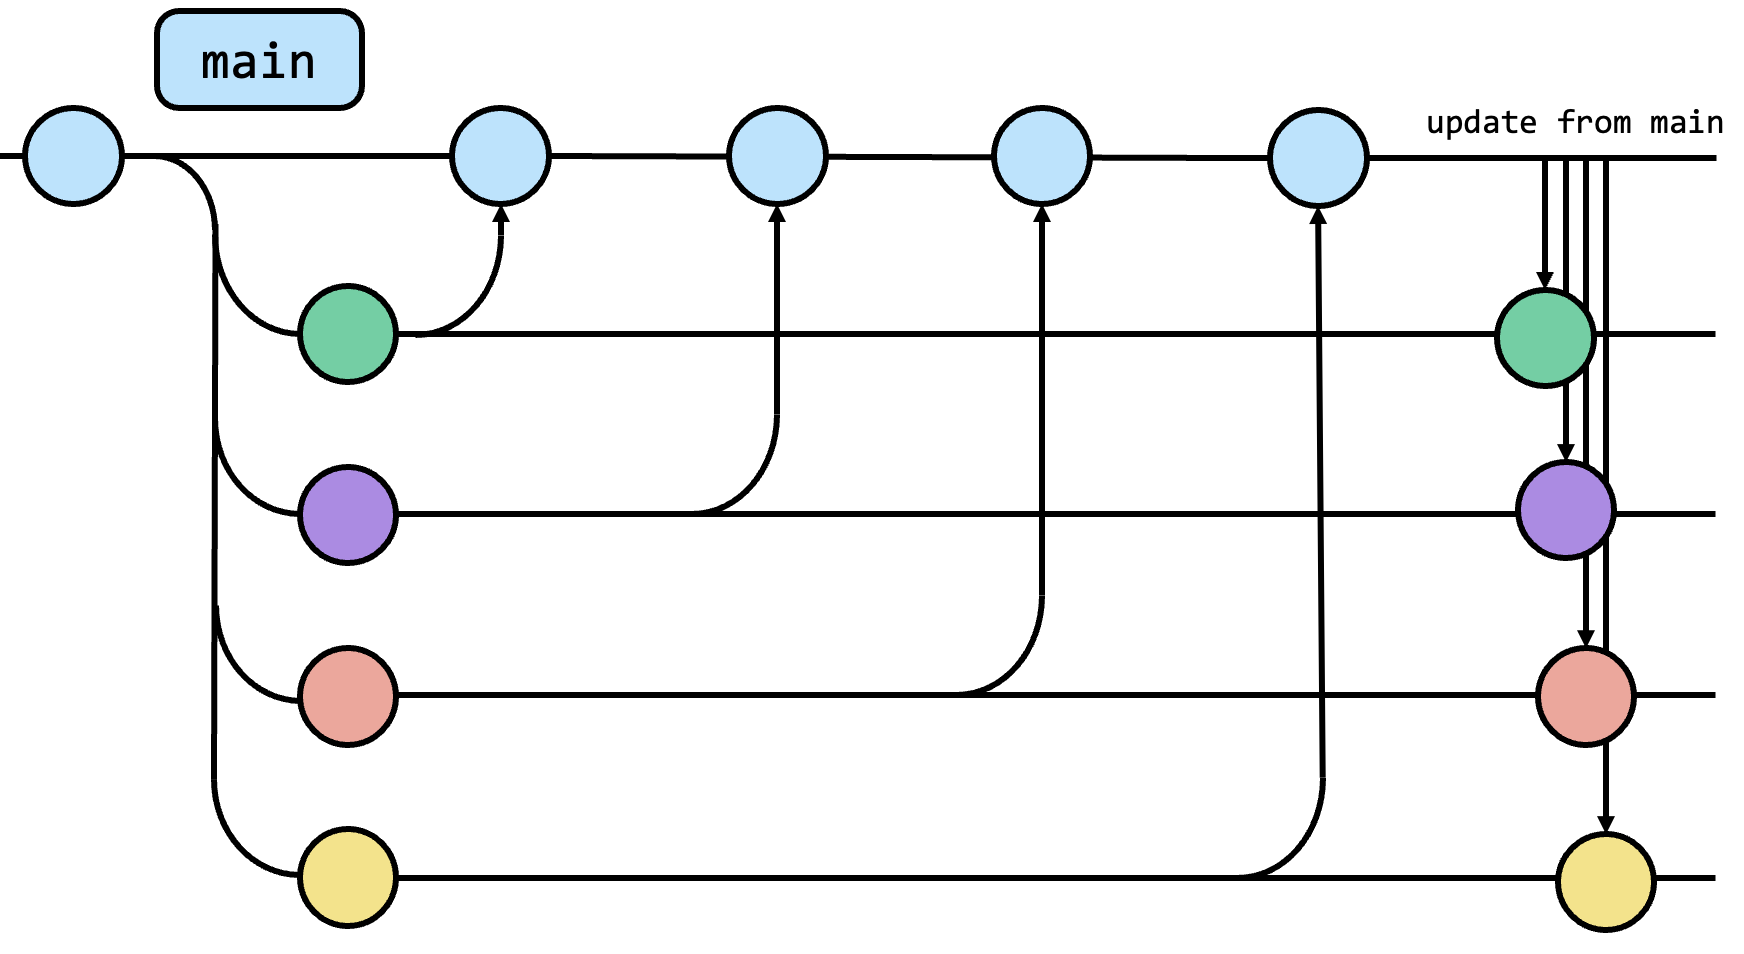
Update from main
Change to
your_branchbranchBranch>Update from mainPush

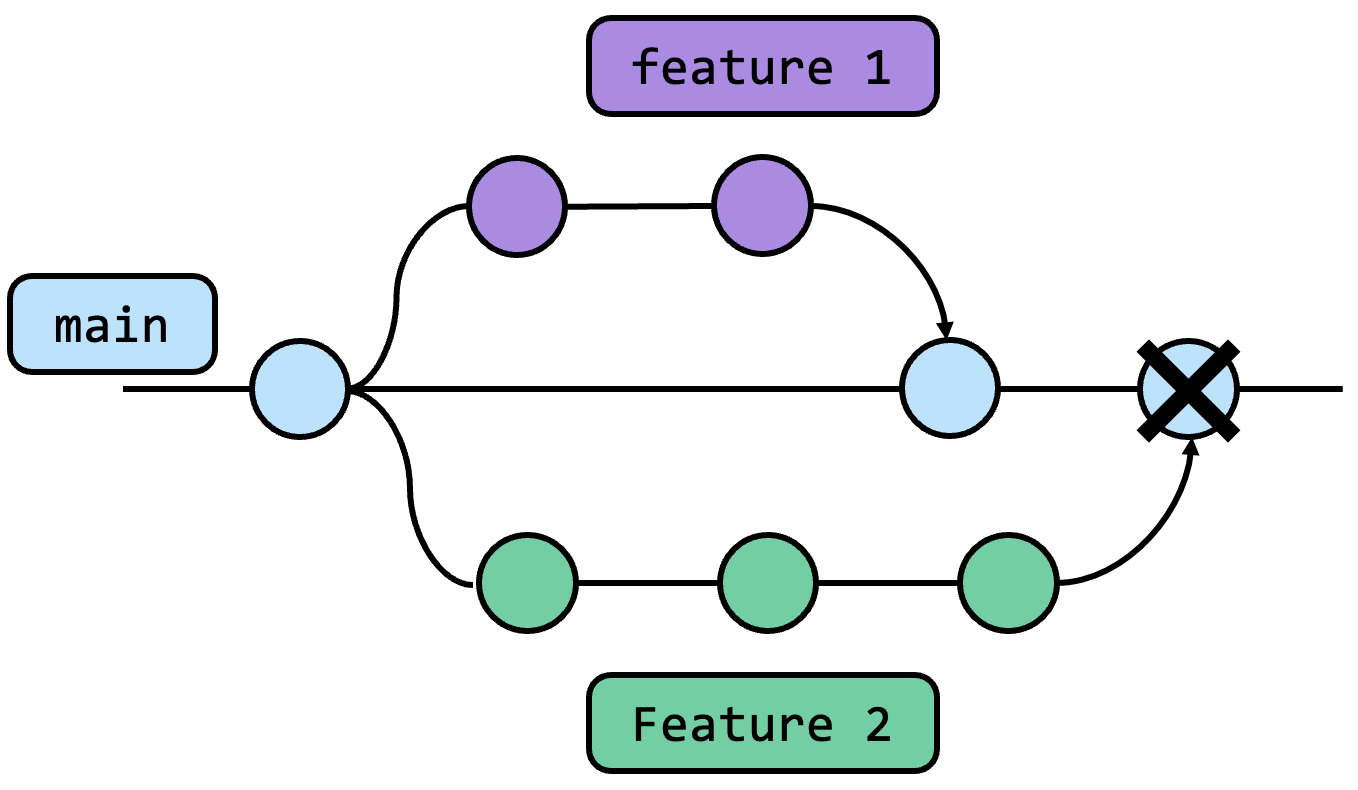
Merging conflicts

Merging conflicts
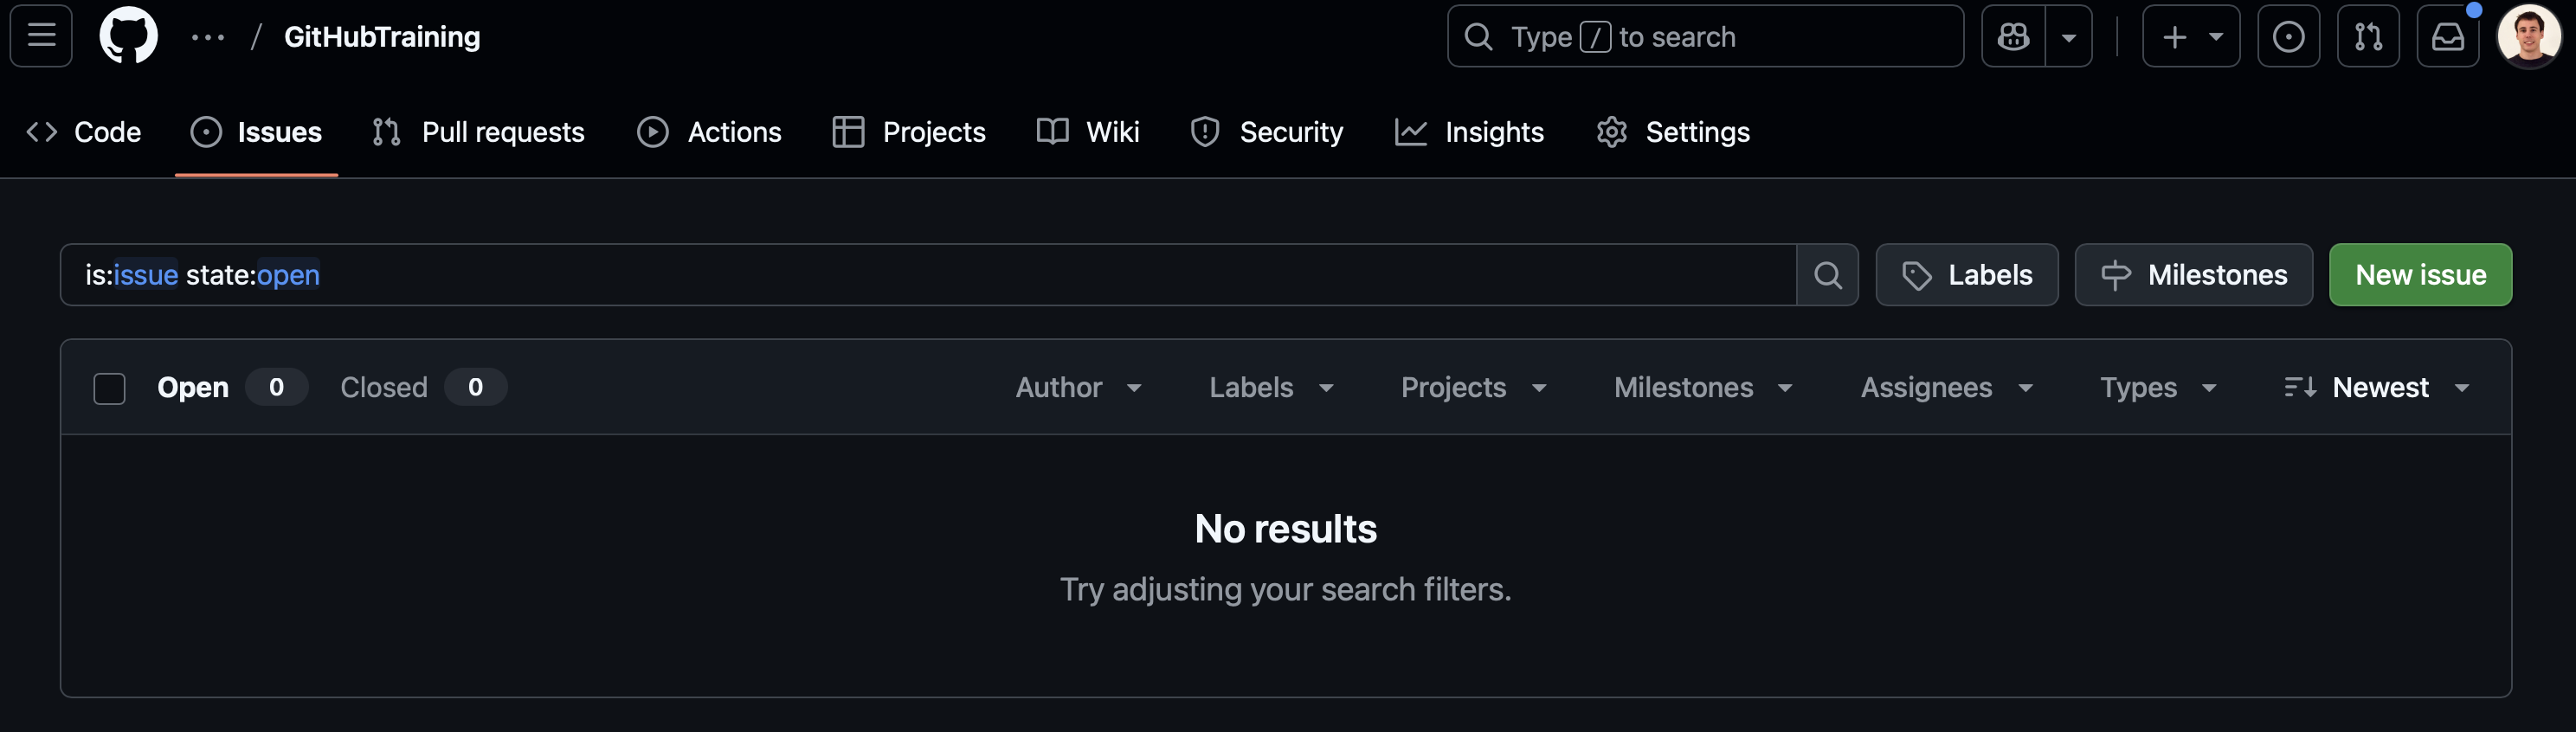
Issues
An issue is a record used to track and manage tasks, bugs, or feature requests within a project. It serves as a central place for team members to describe a problem or idea, discuss potential solutions, assign responsibilities, and monitor progress. Issues often include details like titles, descriptions, labels, comments, and status updates, making it easier to collaborate, prioritise work, and maintain a clear overview of what needs to be done throughout the development process.
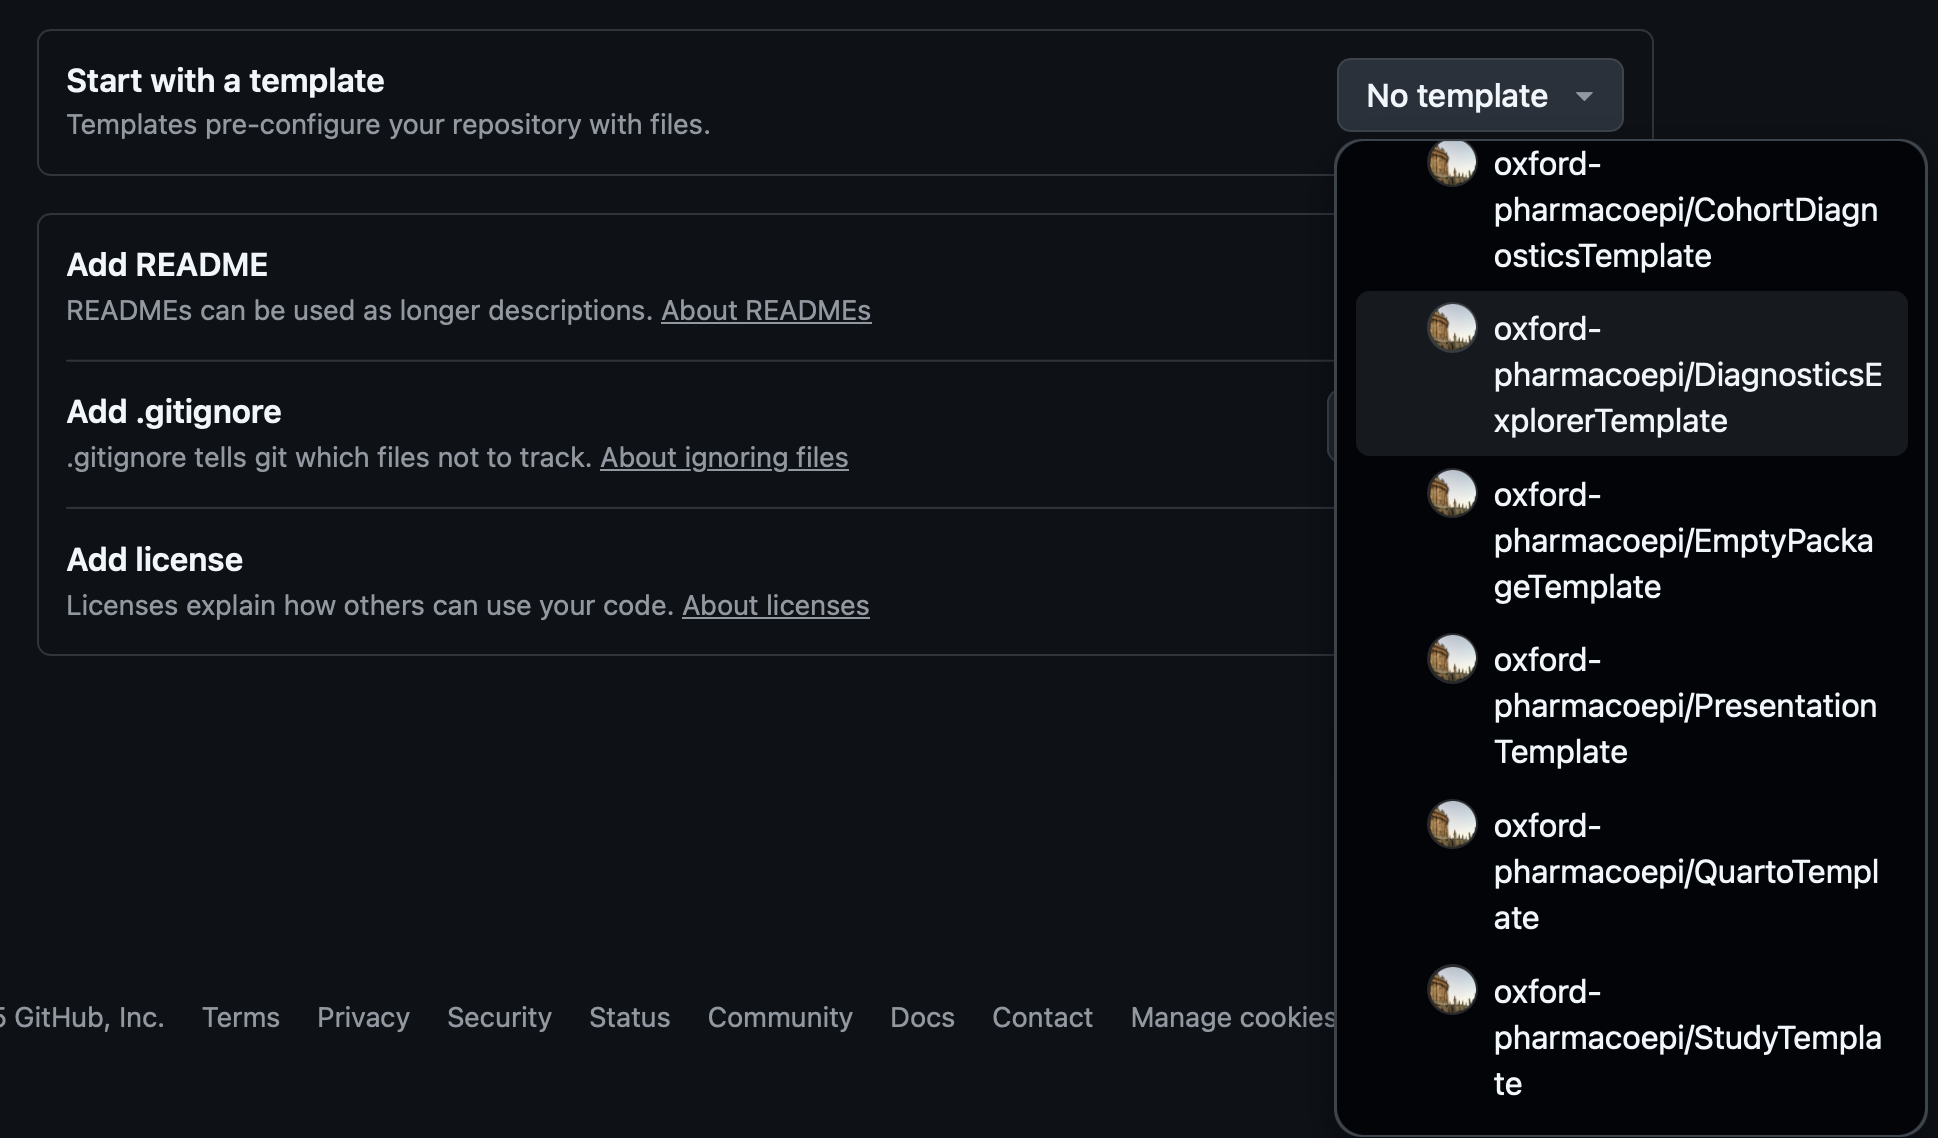
Templates
Templates can be used to create new repositories:
You are ready
